Arrows & lines
Draw arrows and lines in CorriDraw, bind their endpoints to shapes, switch between sharp/curved/elbow modes, and let A* routing avoid obstacles.
Arrows and lines are how you turn a pile of boxes into a diagram. CorriDraw treats them as first-class objects with bindable endpoints, three routing modes, automatic obstacle avoidance, and the full crow's-foot cardinality set for ER diagrams. This page covers the mechanics — picking the tool, drawing a connector, snapping to a shape, and choosing how the path bends.
The two tools
Both connector tools sit on the top toolbar, between the shapes flyout and the text icon. Click the icon you want:
- Arrow — a straight chevron icon. Has a head on the destination end by default. (Shortcut
Aor5.) - Line — a plain straight-line icon, no head. Useful for separators, underlines, and freeform shapes. (Shortcut
Lor6.)
Draw a connector
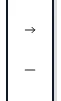
Click the arrow icon on the toolbar, then click on the canvas where you want the tail and drag to the destination. Release to commit. To draw a multi-segment polyline, click once at the tail, then click again at each bend, and double-click on the last point to finish (or press Enter / Esc).
Hold Shift while dragging to lock the angle to 15-degree increments. This keeps your horizontal and vertical connectors perfectly straight without having to nudge. On a tablet, tap and drag with finger or stylus — the gesture is identical.
Bind to a shape
With the arrow tool armed, hover over an existing shape before clicking. The shape lights up with a green halo — that's the visual signal that the endpoint will bind to the shape rather than float in space. Click while the halo is showing, drag to the next shape, and release while a second green halo glows. Now both endpoints are bound: when you move either shape, the arrow follows.
Bound endpoints stay glued through moves, resizes, and even deletes-and-undos. To unbind a single endpoint, click the selection icon on the toolbar, click the arrow to select it, then drag the endpoint off the shape — the green halo turns into a plain handle. To unbind every endpoint of an arrow at once, select the arrow and click the Arrow binding toggle in the right-side properties panel to turn it off.
Three arrow types
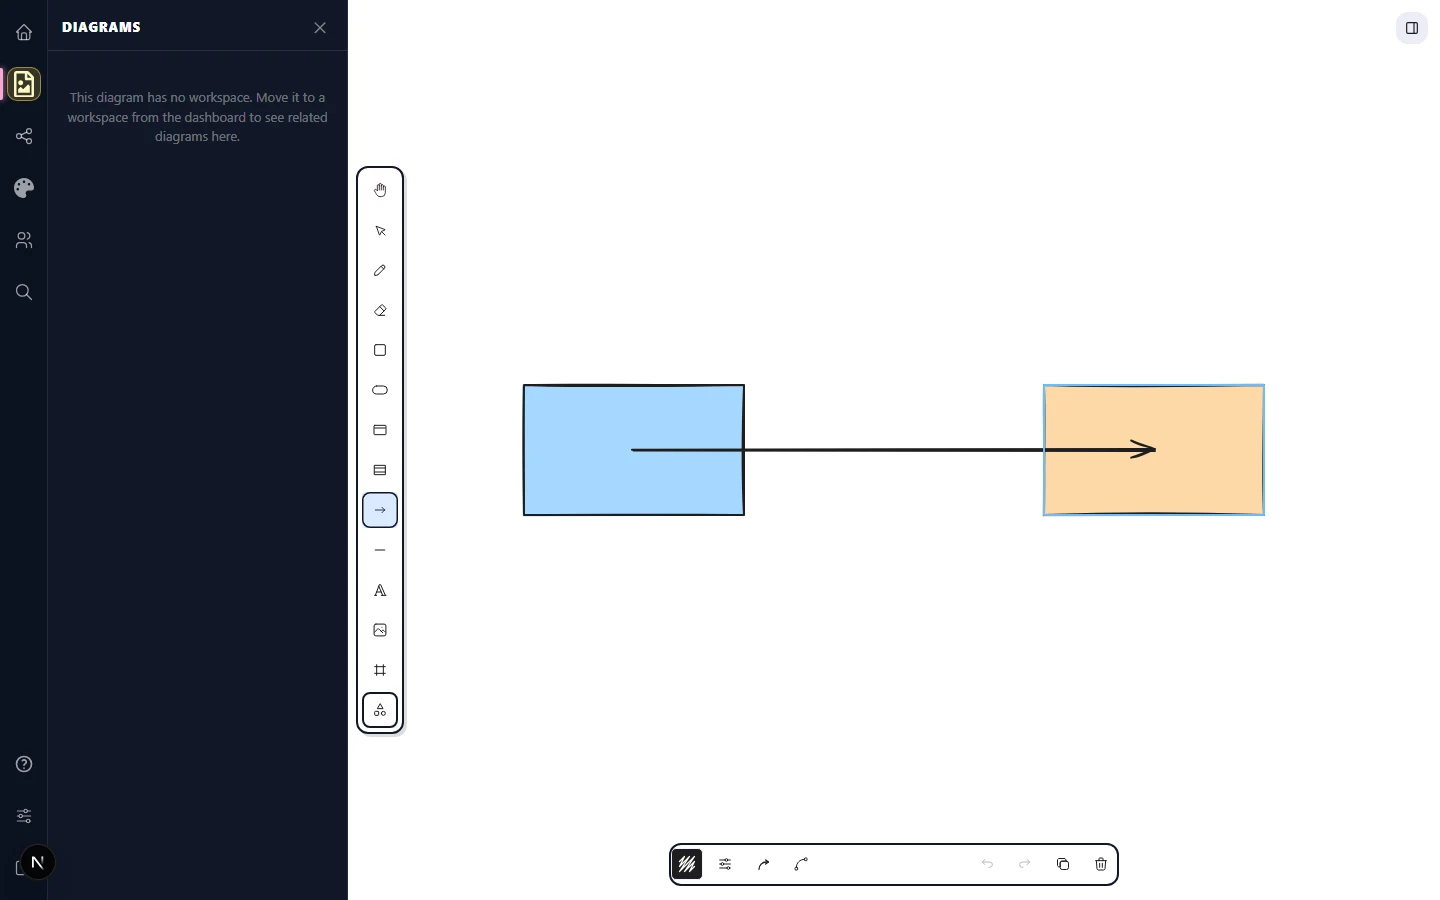
Click an arrow to select it. The right-side properties panel shows an Arrow type control with three icon options:
- Sharp arrow — straight segments with corners at every click point.
- Curved arrow — Bezier-smoothed segments for a softer, hand-drawn feel.
- Elbow arrow — orthogonal routing, only horizontal and vertical legs. Best for flowcharts, BPMN, and architecture diagrams.
Click any of the three to switch — the arrow's endpoints stay put while the path between them re-routes.
A* routing for elbow arrows
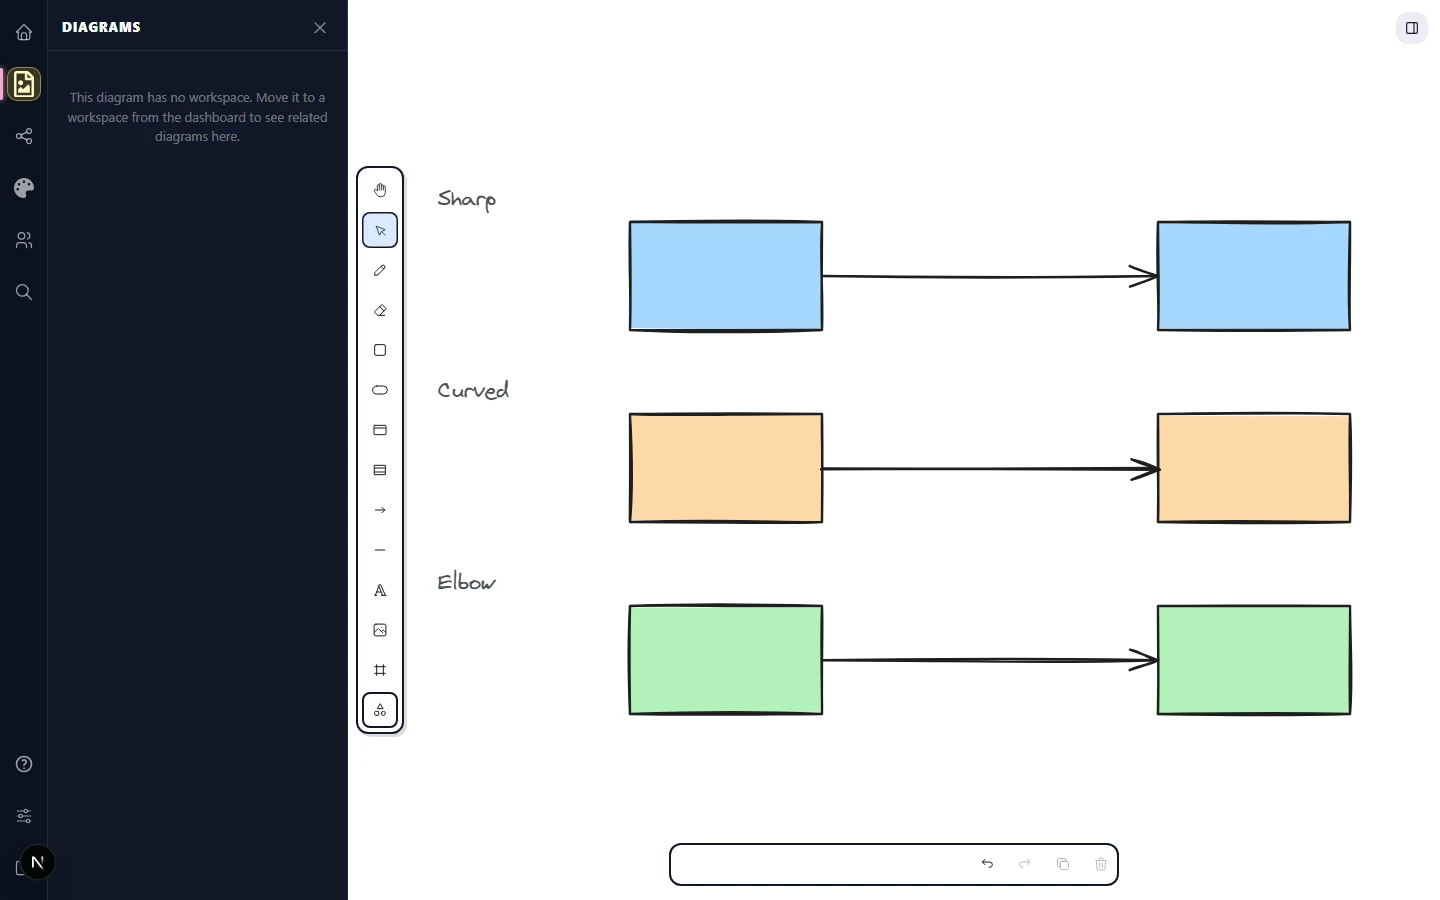
Elbow arrows don't just bend — they actively avoid the shapes already on the canvas. CorriDraw runs an A* path-finding pass on every elbow arrow, treating other bound shapes as obstacles. As you drag a connected shape around, the elbow path re-routes in real time to slip around boxes, frames, and other connectors instead of cutting through them.
If you want a particular bend, click the arrow to enter line-edit mode and drag any midpoint to override the routing. CorriDraw remembers your override until you move one of the bound shapes again.
Common pitfalls
That's the toolbox. The next page covers the thirteen arrowhead styles you can swap onto either end, including the full crow's-foot cardinality set.