Fill & stroke
Set background fills, stroke colors, opacity, and the hachure/cross-hatch/solid fill style for any shape in CorriDraw.
Every shape in CorriDraw has two colors — a stroke for the outline and a background for the inside — plus an opacity slider and a fill style that decides how the inside is painted. All four controls live in the right-hand properties panel and update the moment you click. This page walks you through each one and shows how they combine.
Open the properties panel
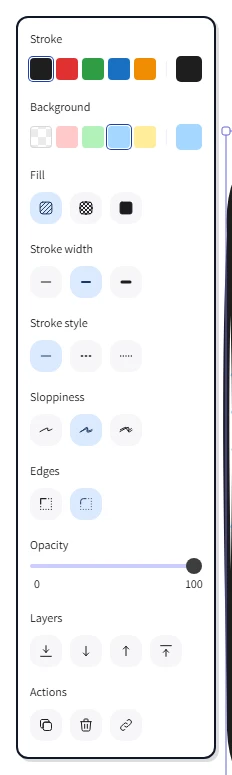
Click any shape on the canvas to select it. The properties panel appears along the right edge of the window. The first two rows are Stroke and Background; below them sit Fill, Stroke width, Stroke style, Sloppiness, Edges, and Opacity.
On phones and tablets the right panel collapses into a single hamburger button at the top of the screen — tap it to slide the same panel out from the side. Every control inside is finger-friendly and behaves identically to the desktop version.
Stroke color
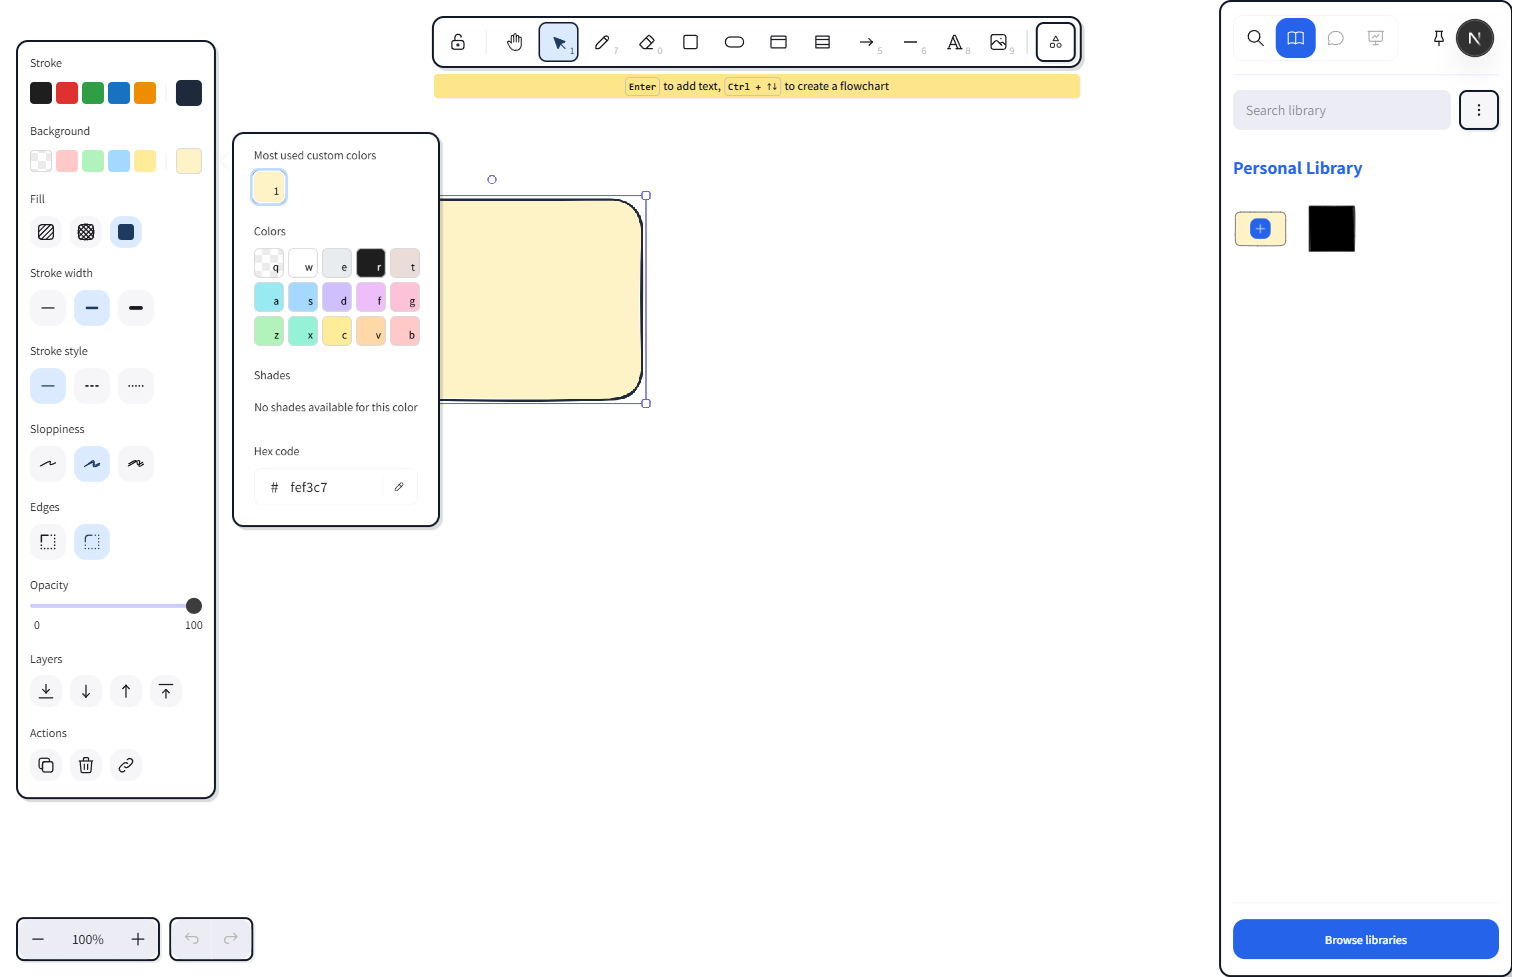
In the Stroke row, click the colored swatch to open the picker. The top of the picker shows a row of Top picks — five quick-access colors. Below that, the curated palette is laid out by hue; click any base color and a row of shades expands beneath it for finer control. Click a swatch to apply — the canvas updates instantly. For an exact value, type a hex code into the Hex code field at the bottom of the picker, or click the eye-dropper icon next to it to sample a color from anywhere on the canvas.
Background color
The Background row sits directly under Stroke and works the same way — click the swatch, click your color. The first option in the palette is Transparent (drawn as a checkerboard), which leaves the shape hollow so whatever sits behind it shows through. Useful for wireframe outlines and decorative borders.
Fill style
Once a non-transparent background is set, the Fill row appears as a strip of three icon buttons. Click one to choose how the color paints the inside of the shape:
- Hachure — diagonal sketch-style fill lines, the default for the hand-drawn look.
- Cross-hatch — overlapping diagonal lines for a denser, shaded effect.
- Solid — a flat, fully-saturated fill, identical to a normal vector shape.
There's a hidden fourth: Zigzag. With Hachure already selected, hold Alt and click the same button again — the fill switches to a continuous back-and-forth squiggle instead of separate strokes. Click again the same way to toggle back.
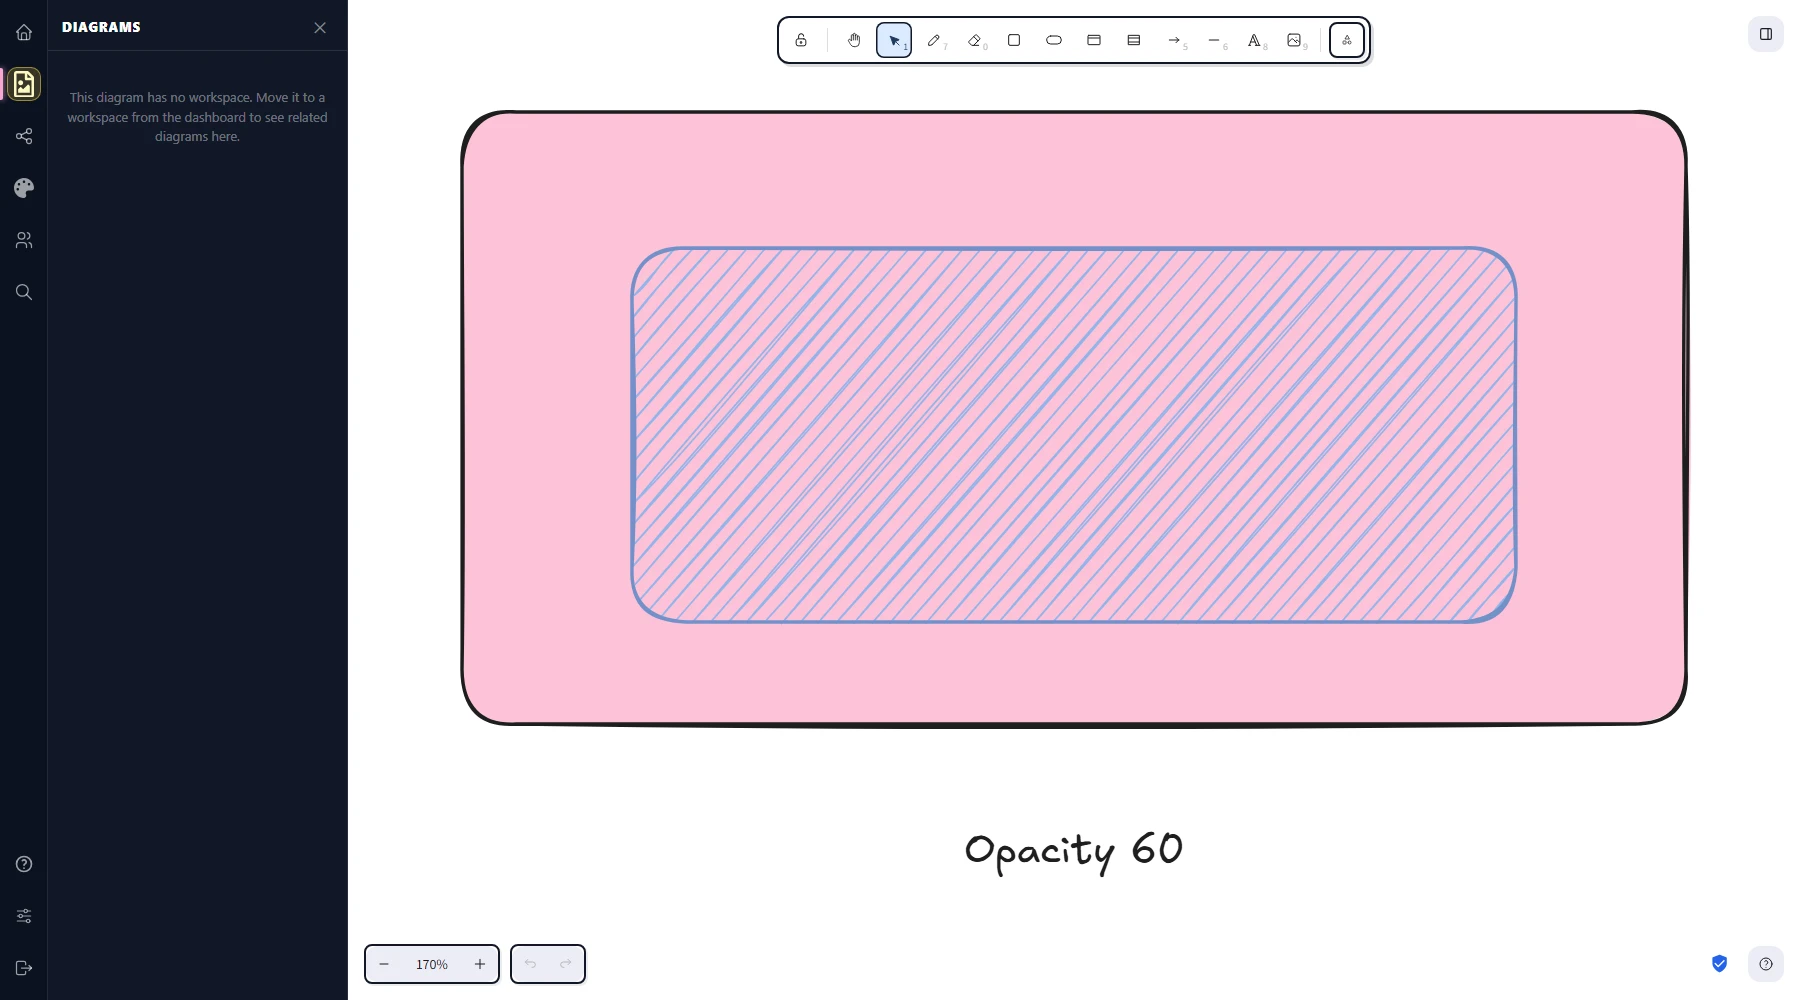
Opacity
The Opacity slider sits at the bottom of the panel and runs from 0 to 100 in steps of 10. Drag the handle (or tap-and-drag on touch) to set the value — it applies to the whole element: outline, fill, and any text label inside. Drop it to 50 and the shape sits at half-transparency against whatever's behind it. The slider's ticks make round values easy to land on; for finer control on desktop, click into the slider and tap the arrow keys.
Mixed selections
When you select multiple shapes that have different colors, the swatches in the panel show no active state — there's no single value to display. Pick a new color and it applies to every selected shape at once. The same goes for fill style and opacity: a mixed selection shows nothing highlighted, and the next click writes one value across the whole group.
Make a default
Whatever stroke, background, fill style, and opacity were active when you drew the last shape become the defaults for the next one. To set a brand-new default without drawing first, click on empty canvas to deselect everything, then change the controls in the properties panel. The values save in the app state and follow you between sessions.