Shapes
Draw rectangles, ellipses, diamonds, triangles, hexagons, and stars in CorriDraw. Resize, snap, and align with the grid.
Shapes are the building blocks of every diagram. CorriDraw ships with a Geometry pack that gives you eleven primitive shapes — rectangle, diamond, ellipse, triangle, hexagon, star, parallelogram, trapezoid, pentagon, octagon, and semicircle — all reachable from a single popover on the toolbar. This page walks through choosing a shape, drawing it on the canvas, resizing precisely, and using the grid and snap features to keep things aligned.
Pick a shape
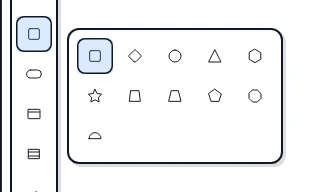
The shapes group sits in the middle of the top toolbar, between the eraser and the arrow icon. Click it to open the popover, then click the shape you want — rectangle, diamond, ellipse, triangle, hexagon, star, parallelogram, trapezoid, pentagon, octagon, or semicircle. The icon for the most-recently-picked shape stays visible on the toolbar so a second click goes straight to the same tool without re-opening the flyout.
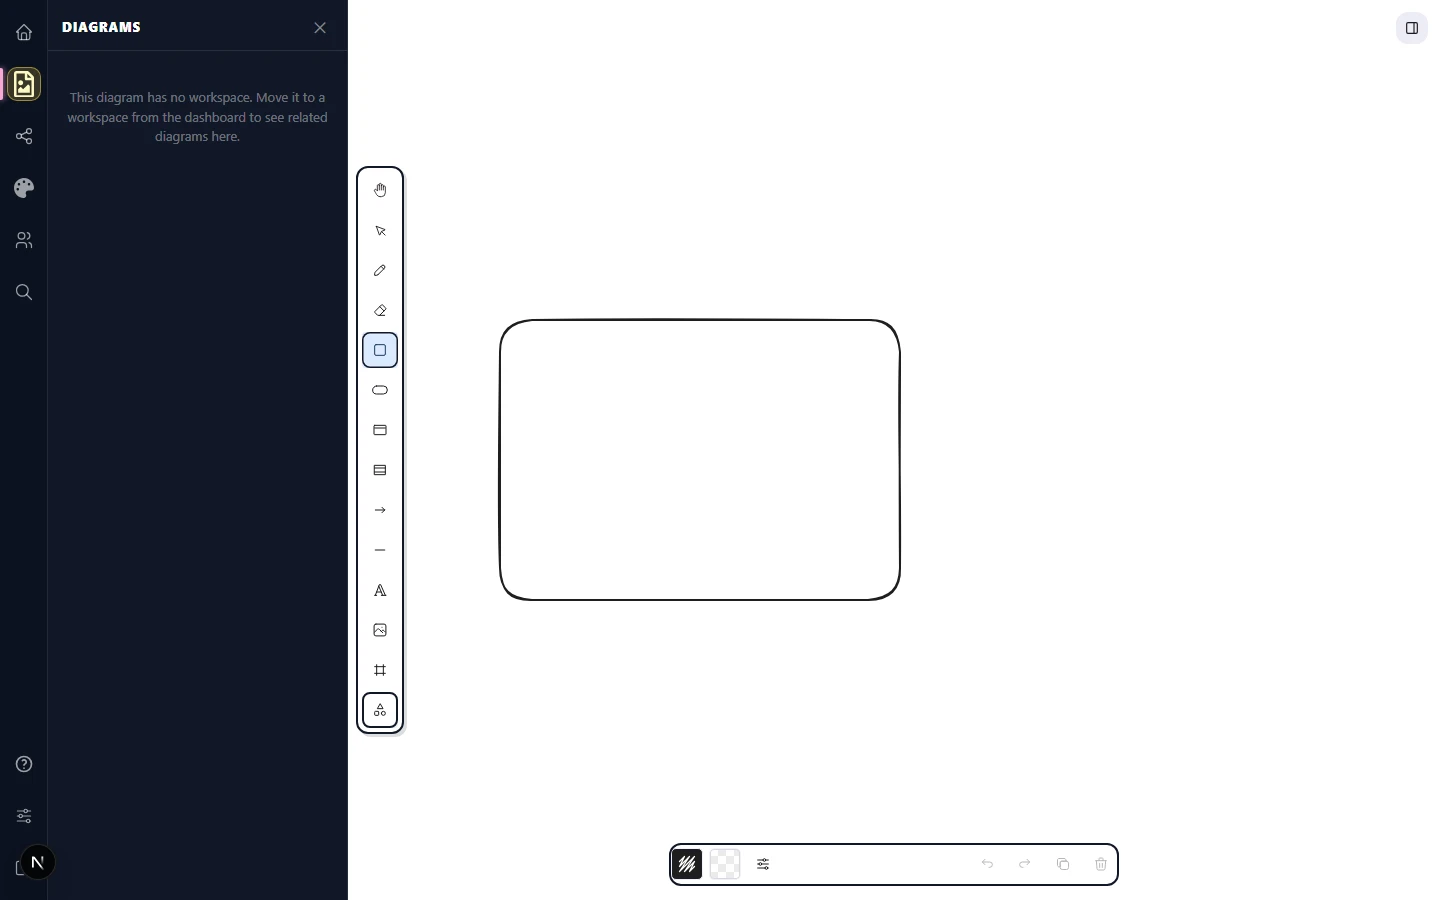
Draw a shape
Once a shape is picked, click and drag on the canvas to draw it. The shape grows from the corner where you started toward the cursor. Hold Shift while dragging to lock the aspect ratio — useful for perfect squares, circles, and equilateral triangles. Hold Alt to draw from the centre instead of the corner. On a tablet or touchscreen, tap and drag with your finger or stylus — the gesture is identical and pressure on the stylus is ignored for shapes (it only affects freehand).
Release the pointer to commit the shape. The toolbar switches back to the selection tool automatically unless you've pinned the current tool with the padlock icon at the far left of the toolbar (Tool lock), in which case you can keep drawing the same shape over and over. (Pro tip: Q toggles tool lock from the keyboard.)
Resize a shape
Click a shape with the selection tool to select it, then grab any of the eight transform handles on its bounding box. The corner handles resize both axes; the edge handles resize one axis only. The same handles are draggable with finger or stylus on touch devices.
- Hold
Shiftwhile dragging a handle to keep the aspect ratio. - Hold
Altto scale around the centre. - Hold both to do both at once.
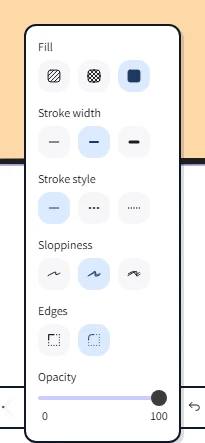
Need an exact size? Open the Stats overlay from the bottom-right corner of the editor (the small i-style info button), or with the keyboard shortcut Alt+/, and type new width or height values directly into the readout fields.
Snap to objects
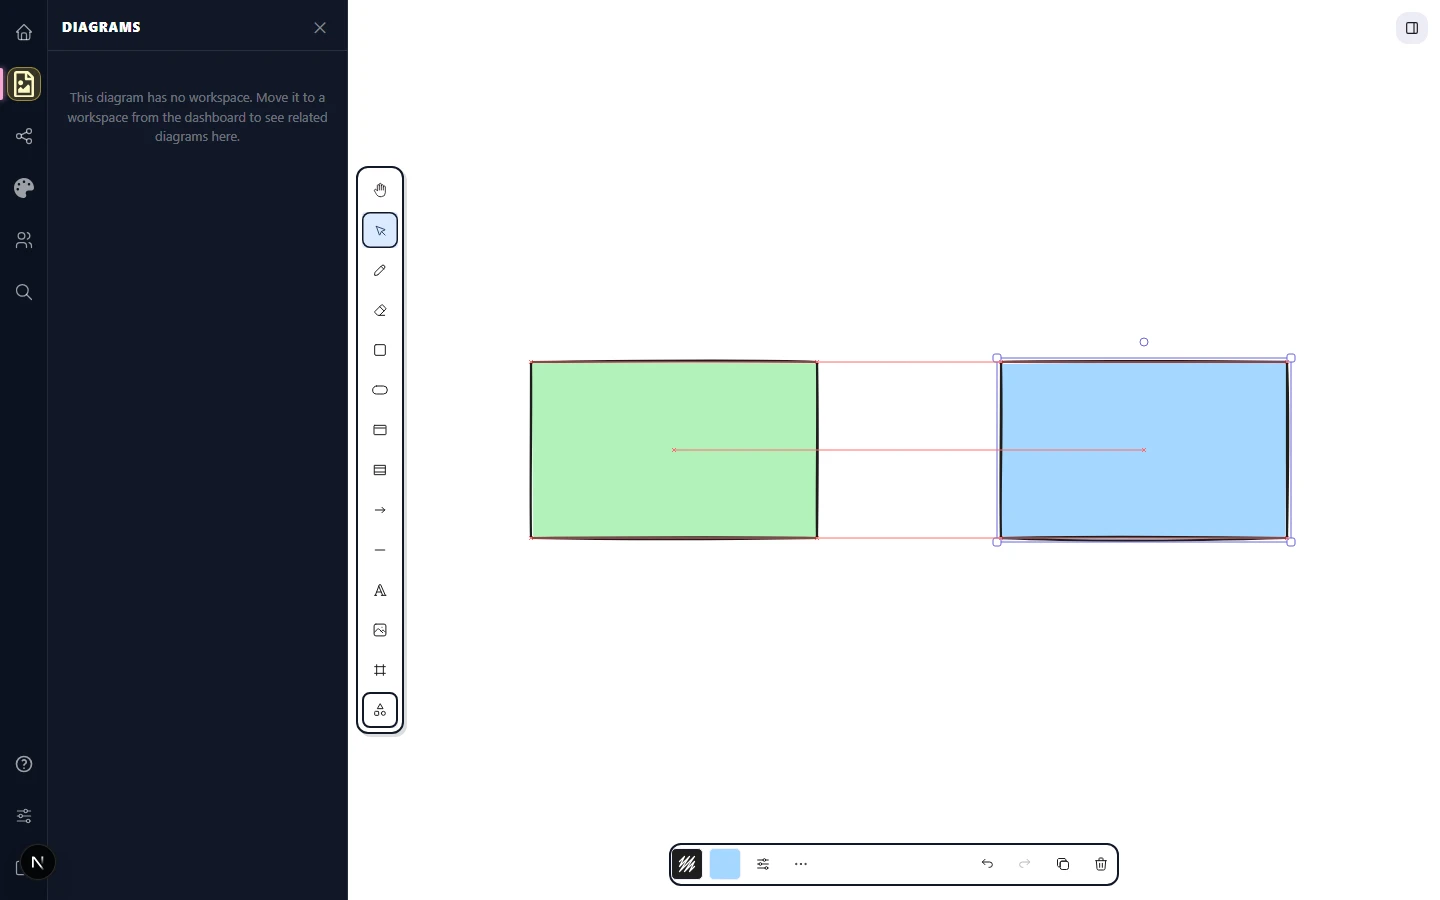
Object snapping draws guides between the shape you're moving and the shapes already on the canvas, so edges, centres, and midpoints line up exactly. Open the Canvas panel from the activity bar on the left edge of the editor and flip the Snap to objects switch — or click the snap label in the status bar at the bottom of the canvas to toggle it directly. (Pro tip: Alt+S toggles snapping from the keyboard.)
When snapping is on, you'll see thin pink guide lines whenever the dragged shape's edge or centre aligns with another. Release the pointer while a guide is showing and the position locks to it.
Grid and the dotted background
The grid is a 20-pixel dotted lattice that helps you place shapes at predictable positions. Open the Canvas panel in the activity bar and click Show grid, or open the Main menu (the hamburger button in the top-left) and choose Toggle grid. While the grid is on, every drawn or moved shape rounds to the nearest grid intersection. (Pro tip: Ctrl+' on Windows / Cmd+' on Mac toggles the grid from the keyboard.)
The grid pairs well with object snapping: the grid keeps you on a coarse lattice, while object snapping fine-tunes alignments to existing shapes the grid can't predict.
Rounded corners
Rectangles, diamonds, hexagons, and the other polygon shapes that support rounding have an Edges control in the right-side properties panel: Sharp or Round. Click the shape to select it, then click the Round icon in the Edges row for soft, friendly shapes, or Sharp for technical diagrams. Ellipses are always smooth, so the control hides for them.