Freehand & eraser
Sketch with the freehand tool in CorriDraw, take advantage of pressure sensitivity on touchscreens, smooth strokes automatically, and erase with the eraser.
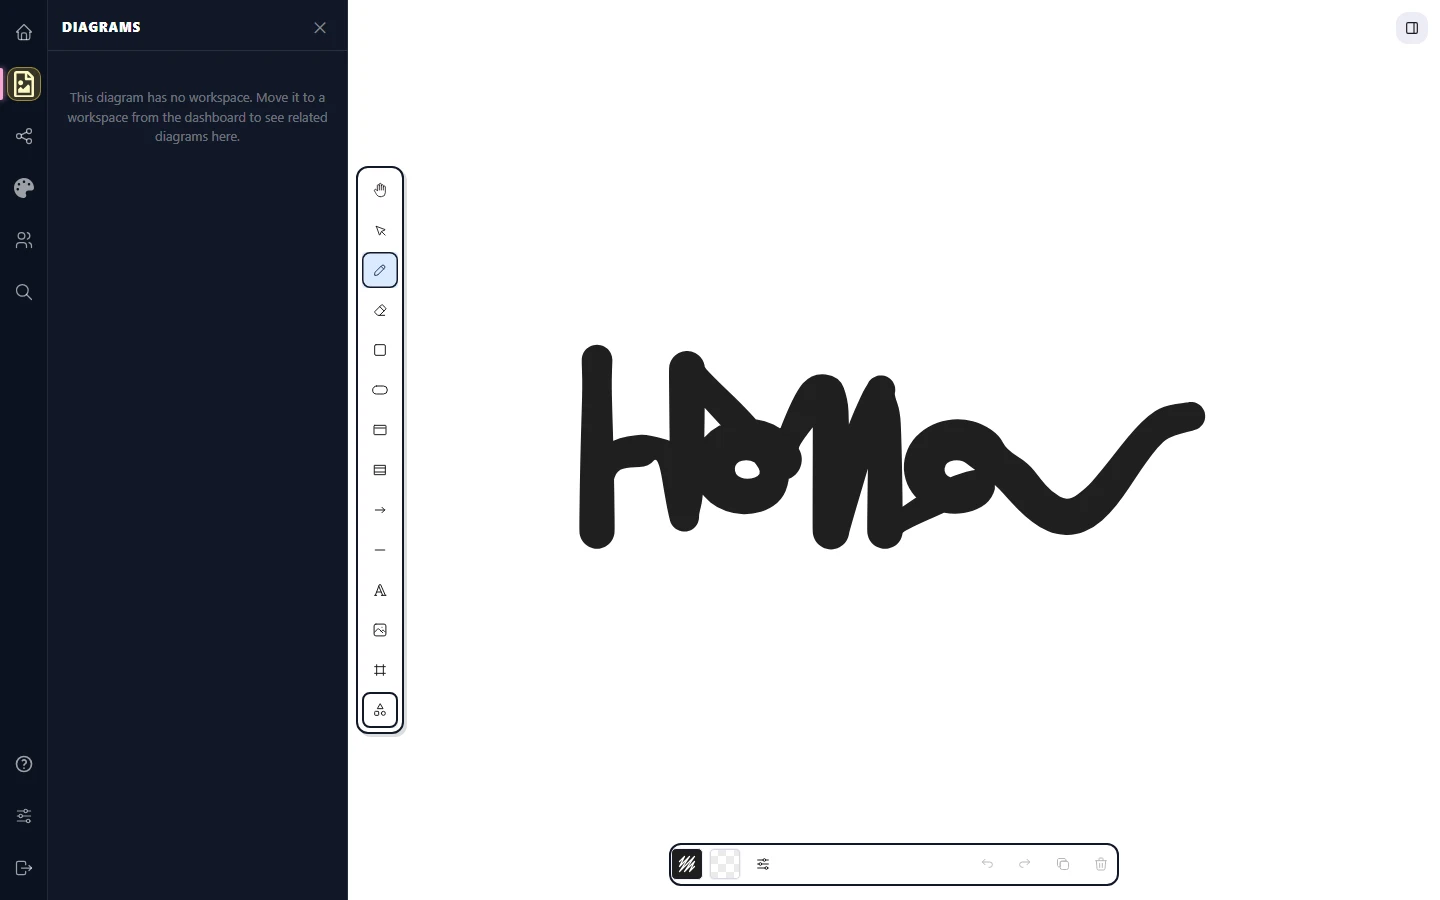
The freehand tool turns CorriDraw into a sketchpad. It captures every wobble of your hand, smooths the result for clean curves, and — on devices that support it — varies stroke width with pen pressure for the kind of expressive line you can't get from a mouse alone. The eraser is the freehand tool's natural counterpart: stroke across anything to delete it.
Pick the freehand tool
Click the pencil icon on the top toolbar — it's the third icon from the left, between the selection arrow and the eraser. The icon highlights and your cursor turns into a crosshair to confirm the tool is armed. Click and drag (or tap and drag, with finger or stylus) to lay down a stroke; release the pointer to commit. (Pro tip: press P, X, or 7 to grab the freehand tool from the keyboard.)
Pressure sensitivity
If you're drawing with an Apple Pencil, a Surface Pen, a Wacom tablet, or any pointer that reports pressure to the browser, freehand strokes get thicker as you press harder and lighter as you ease off. CorriDraw uses the same input pipeline that Excalidraw pioneered, so the result feels closer to ink than to a vector path.
Pressure sensitivity activates automatically when the browser delivers Pointer Events with non-zero pressure. There's nothing to toggle — the moment your pen lands on the canvas the stroke responds. On a regular mouse, every stroke uses a single uniform width because mice report pressure as zero.
Smoothing
Hand-drawn strokes are noisy. CorriDraw smooths them with a moving-average filter as the stroke is captured, then re-fits a clean polyline at commit time. The result is a curve that follows your intent without preserving every micro-jitter — a useful default for note-taking and sketching alike.
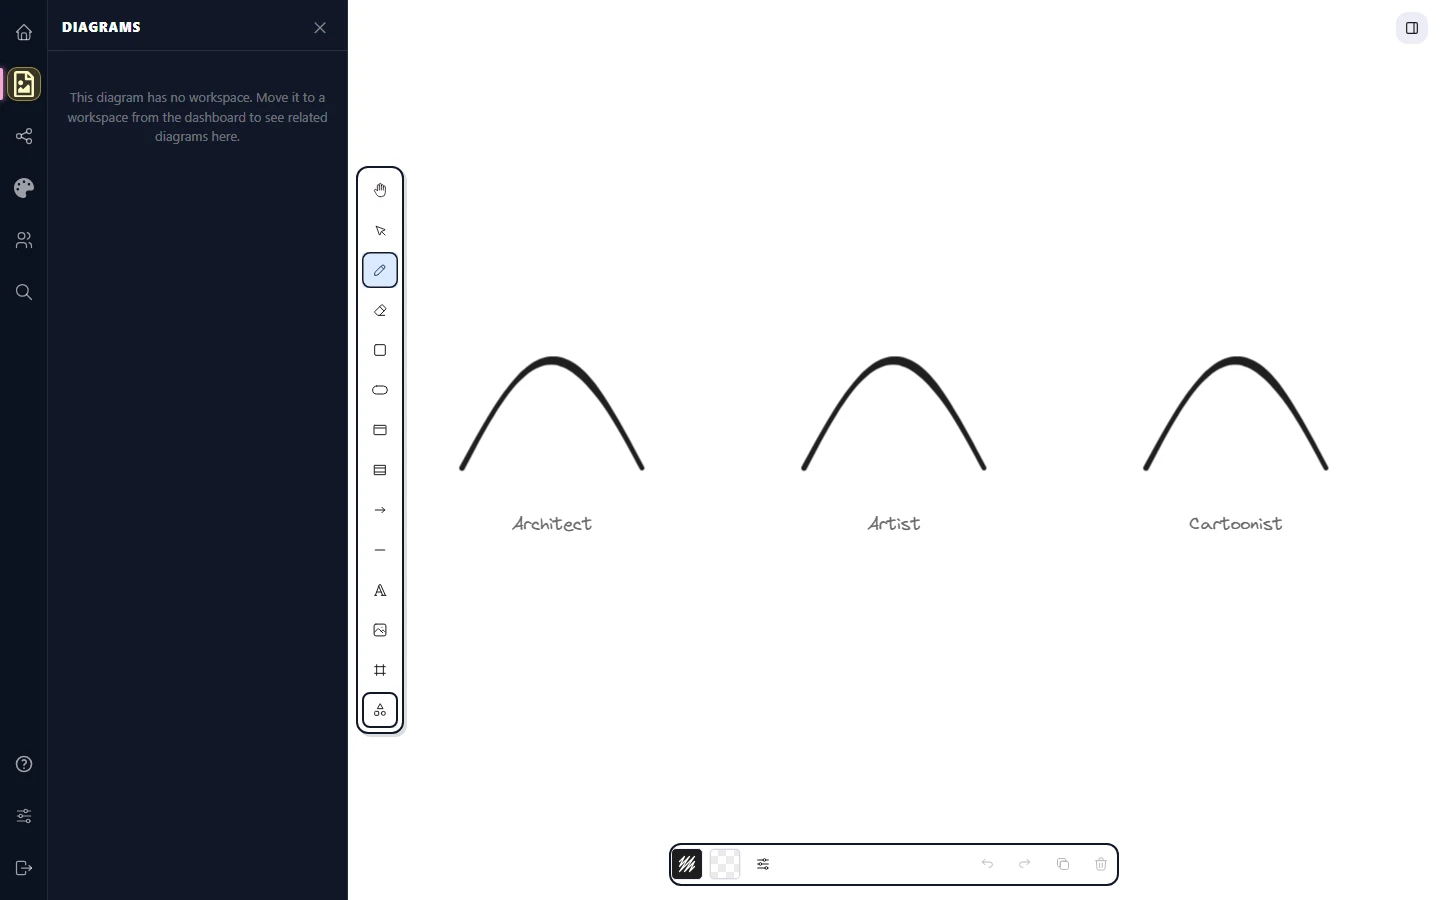
Smoothing is part of the stroke pipeline; it can't be disabled per stroke, but you can dial the apparent roughness using the Sloppiness control in the right-side properties panel. Click a stroke to select it, then click one of the three icons in the Sloppiness row: Architect (cleanest), Artist (medium), or Cartoonist (most variation). Pick Architect when you want technical-looking sketches; pick Cartoonist for whiteboard energy.
The eraser
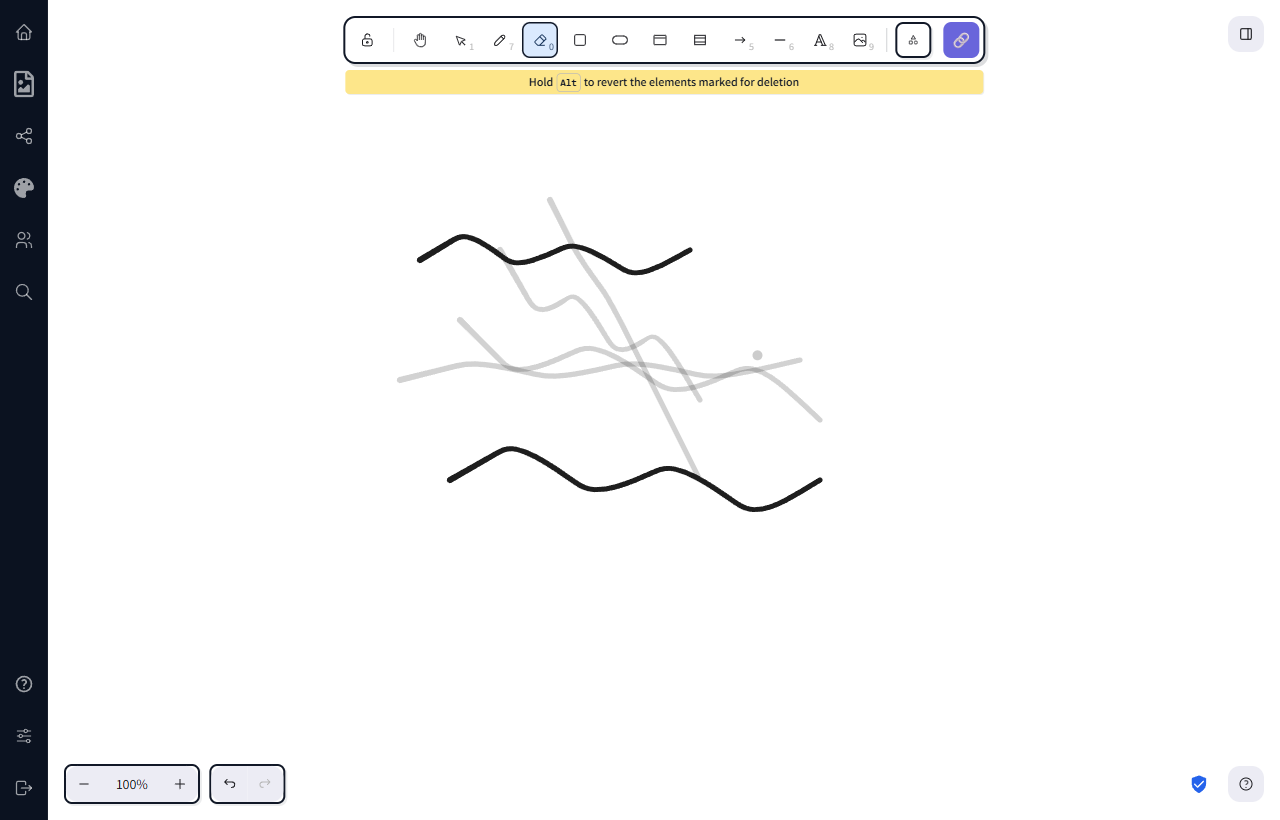
Click the eraser icon on the top toolbar — it's the fourth icon from the left, sitting right after the pencil. Drag the eraser across any element — freehand stroke, shape, arrow, text, image — and it disappears. The eraser stops at the boundary, so you can rub out a single stroke in a tangle without touching its neighbours. On a touch device, dragging with finger or stylus erases identically. (Pro tip: press E or 0 for the eraser from the keyboard.)
Erased elements aren't gone forever. They're queued for deletion only after you release the pointer, and a single click of the Undo button in the bottom-left (or Ctrl+Z) brings everything back. This makes the eraser safe for big sweeping cleanups: drag broadly, then undo if you took something you wanted to keep.
Shortcut hold-to-erase
You don't have to switch tools to erase one or two strokes. With the freehand tool active, hold E on the keyboard while dragging — the cursor flips to the eraser for the duration of the press, and snaps back to freehand the instant you release. This makes "draw, oops, erase, draw" feel like a single fluid motion instead of three separate steps. Without a keyboard, just click the eraser icon, erase, then click the pencil icon again.
Stroke colour and width
Freehand strokes inherit the same Stroke colour and Stroke width properties as shapes and arrows. Before you draw, click a colour swatch in the right-side properties panel — or select an existing stroke and click a swatch to recolour it after the fact. Stroke width has four presets (Thin, Bold, Extra bold, plus the default), each shown as a labelled icon button in the Stroke width row, and on pressure-sensitive devices the width you pick is the maximum the stroke can reach when you press hardest.
When to reach for freehand vs shapes
Use freehand for annotations, signatures, quick sketches, and anything that should look hand-drawn — like circling a bug in a screenshot, or scribbling a margin note. Use shapes when the geometry needs to be precise, snappable, or labelled. The two tools share the canvas happily; many great diagrams mix tidy boxes with a few expressive freehand arrows on top.