Selection & groups
Master the selection tool, lasso, groups, locks, alignment, distribution, and Z-order in CorriDraw to keep complex diagrams under control.
Once your canvas has more than a handful of elements, you spend most of your time selecting and arranging rather than drawing. CorriDraw's selection toolkit covers the common cases — click, drag-rectangle, lasso, group, lock — and the layout helpers (align, distribute, Z-order) make tidy work of irregular collections. This page covers them all.
The selection tool
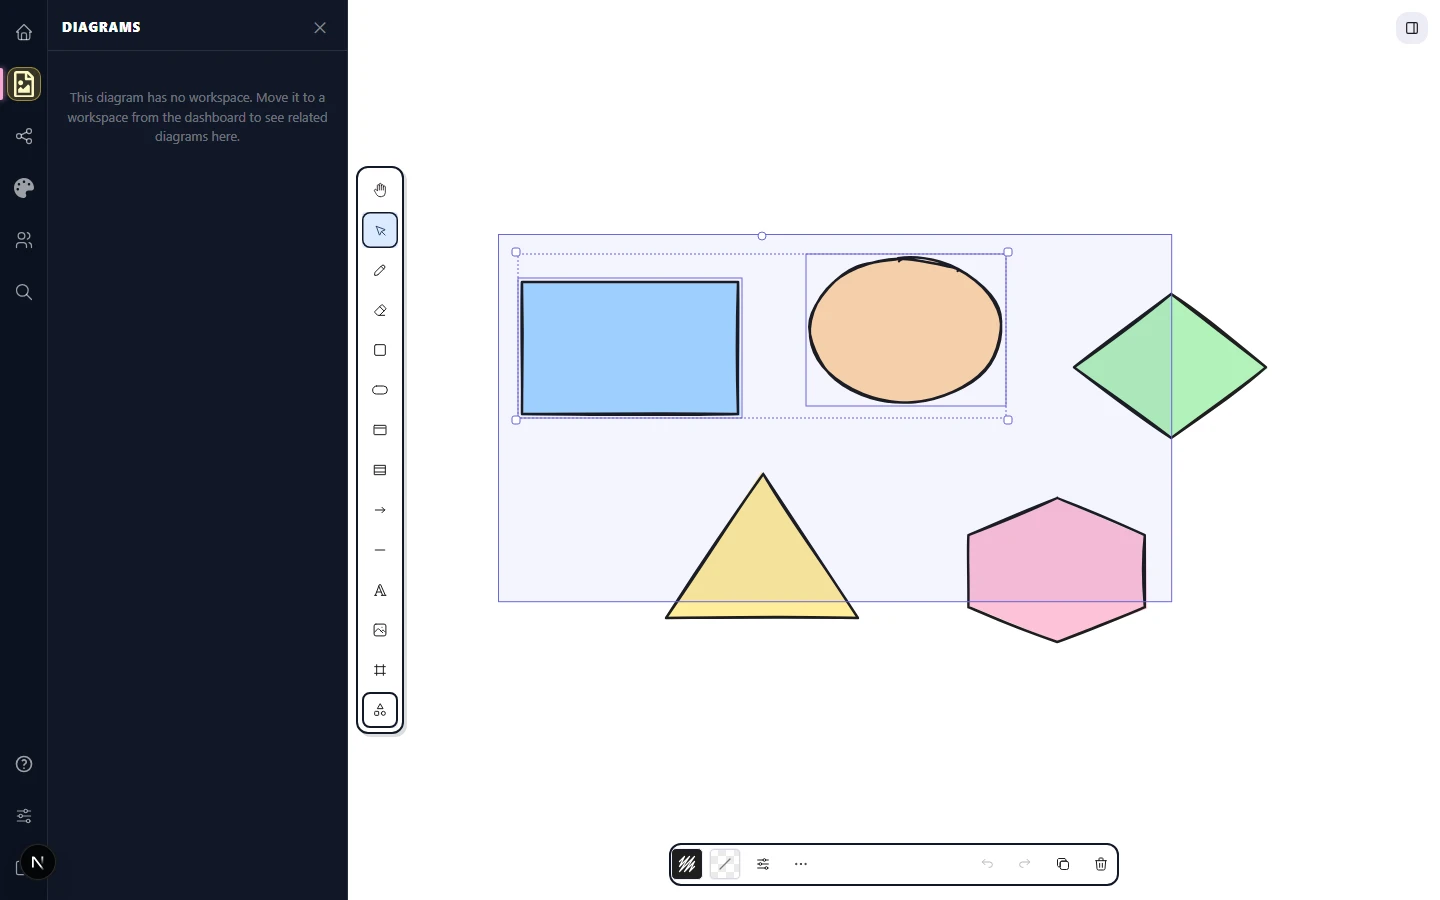
The selection tool is the arrow icon at the very left of the top toolbar — it's the default tool when you open a scene. Click it to make sure it's active, then click on any element to select it, drag on empty canvas to draw a selection rectangle, or hold Shift while clicking additional elements to add them to the current selection. Click on empty canvas to deselect. On a phone or tablet, the selection arrow is the leftmost icon in the bottom toolbar; tap to switch back to it whenever you need to rearrange instead of draw.
Lasso for irregular shapes
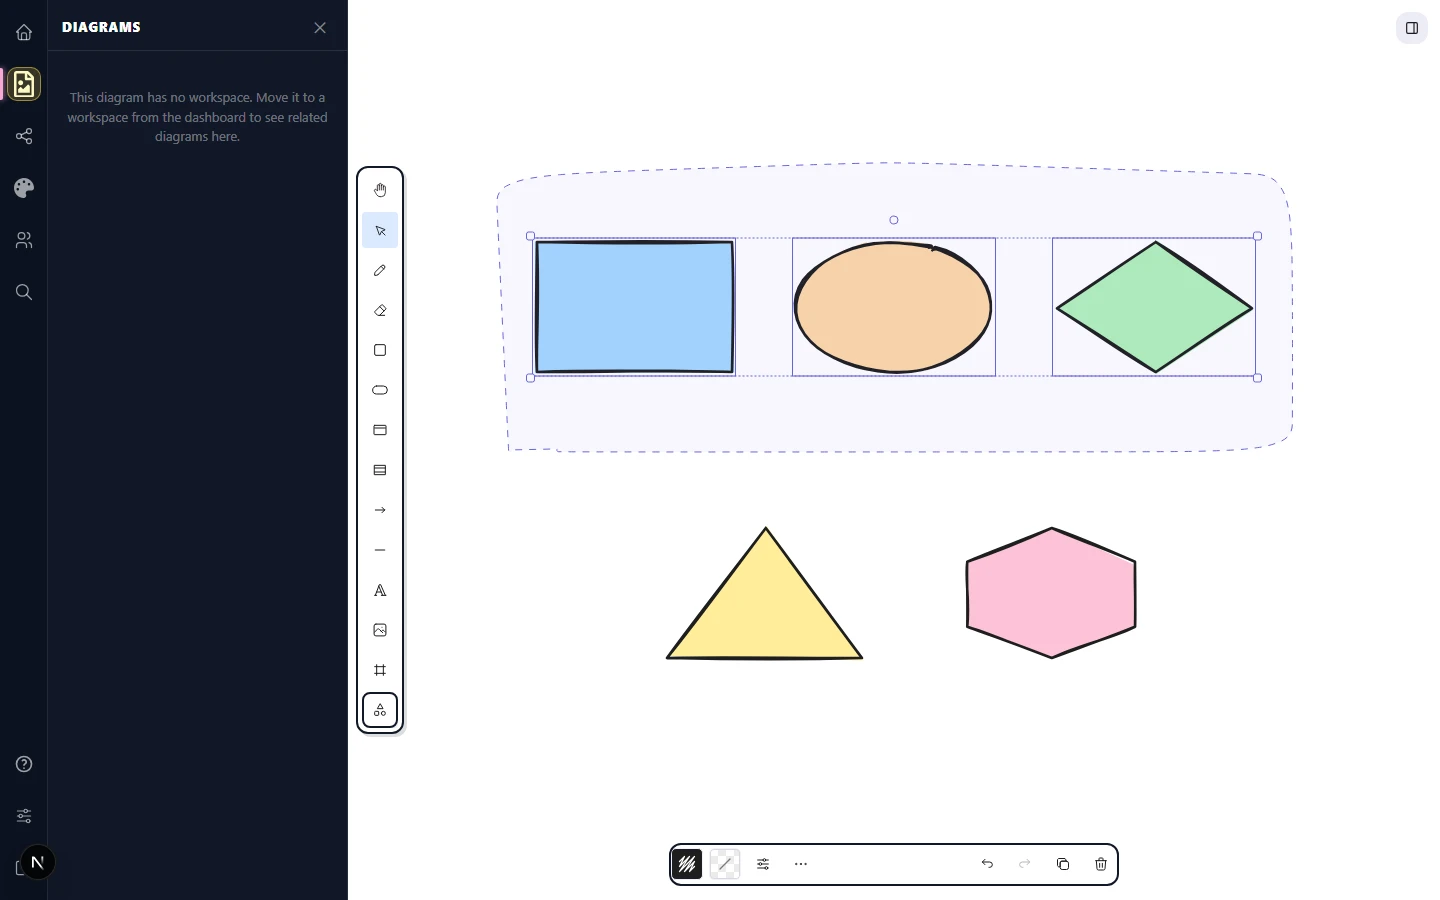
The selection rectangle is fast but rigid — it always captures everything inside an axis-aligned box. The lasso lets you draw a freeform region and select only what falls inside it. The lasso has its own toolbar icon (the dashed loop, sitting next to the selection arrow); click it to switch to lasso mode, then drag on empty canvas to trace a curve. Release to commit, and every element fully enclosed by the curve becomes selected.
On phones and tablets, the lasso is the default selection mode because it's easier to draw an enclosing region with a finger than to nail a corner. Tap the lasso icon in the bottom toolbar (or open Toggle lasso tool from the command palette) to switch the preferred selection mode.
Groups
A group binds several elements together so they move, resize, copy, and delete as a single unit. To create one, select the elements, then right-click the selection and pick Group selection — the same action also lives in the actions menu next to the properties panel. The selection now treats the whole group as one element — clicking any member selects all of them.
To break a group apart, right-click and pick Ungroup. Groups can nest: group two groups together to make a super-group, and each Ungroup peels back one level.
To edit inside a group without ungrouping, double-click a member. The double-click drills into the group and selects only that one element. Click outside the group to drill back out.
Lock
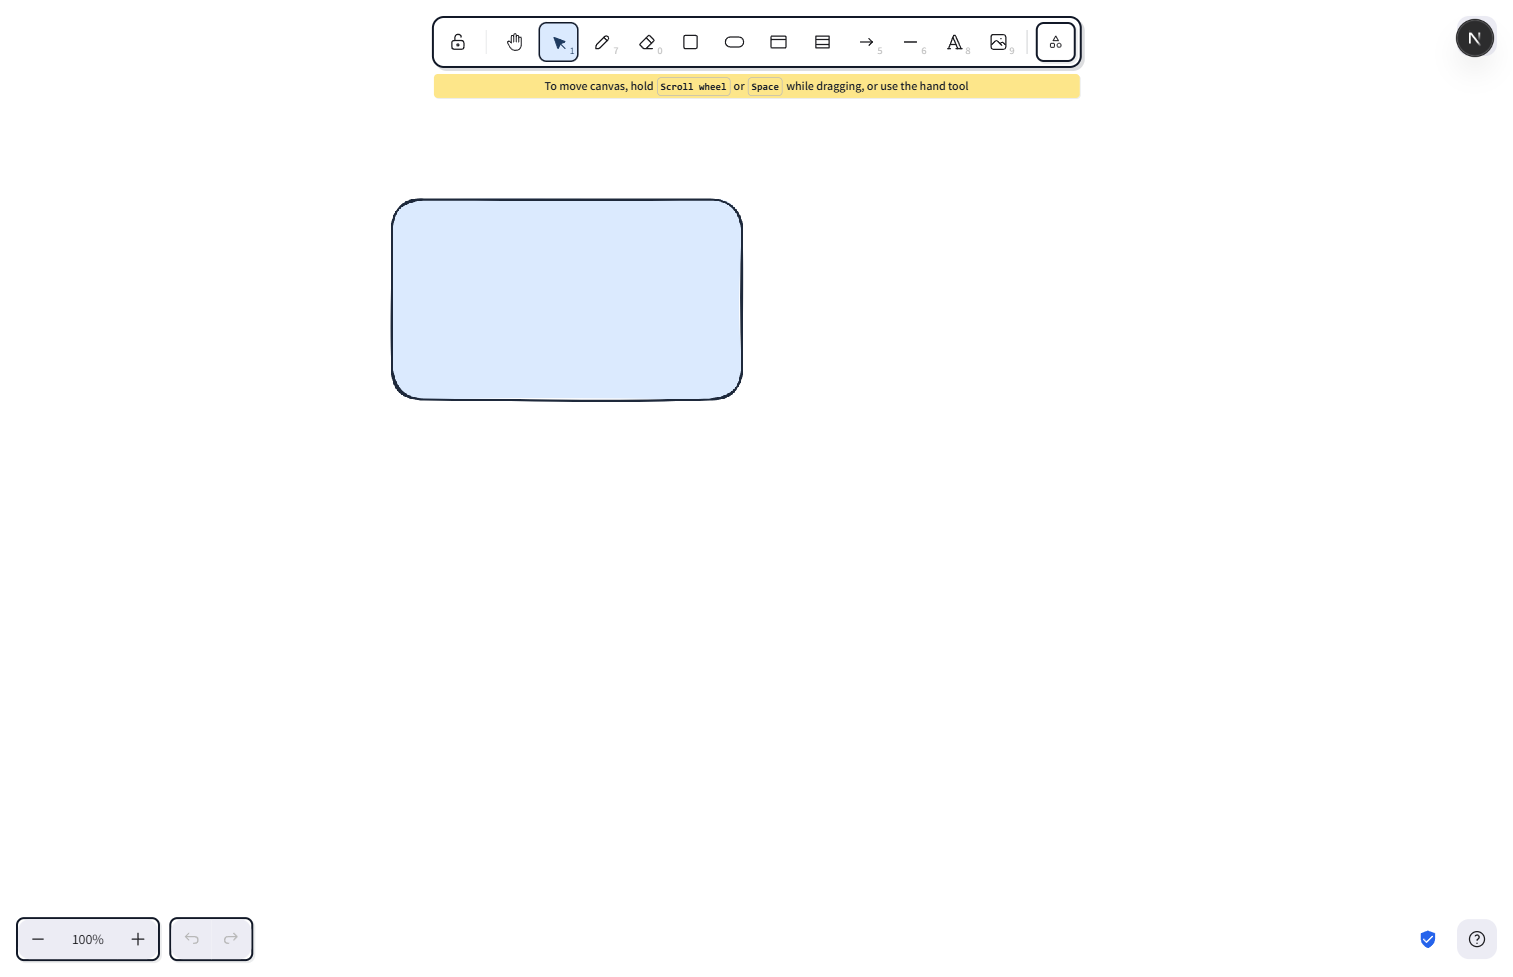
Locking freezes an element in place: you can't move, resize, delete, or even select it until you unlock it. Select the element, right-click, and pick Lock. The element's selection box redraws as a dashed grey outline (instead of the usual solid blue) so you can tell at a glance that it's locked. To unlock, right-click the locked element and pick Unlock — or, if you've locked everything in sight, click Unlock all in the actions menu to release the whole canvas at once.
Locks are perfect for background images you're tracing over (so stray clicks don't drag the reference around) or for finished sections of a diagram you don't want to disturb while you work on a neighbouring one.
Align
With two or more elements selected, the Align row appears in the actions panel. It shows six icon buttons:
- Align top — top edges share the highest top edge in the selection.
- Align bottom — bottom edges share the lowest bottom edge.
- Align left — left edges share the leftmost left edge.
- Align right — right edges share the rightmost right edge.
- Centre vertically — vertical centres align horizontally.
- Centre horizontally — horizontal centres align vertically.
Align uses the selection's outer bounds as the reference, so "align left" doesn't shove everything off-canvas — it shoves them toward whatever was already leftmost. Click the icon you want and CorriDraw applies the change in a single undoable step.
Distribute
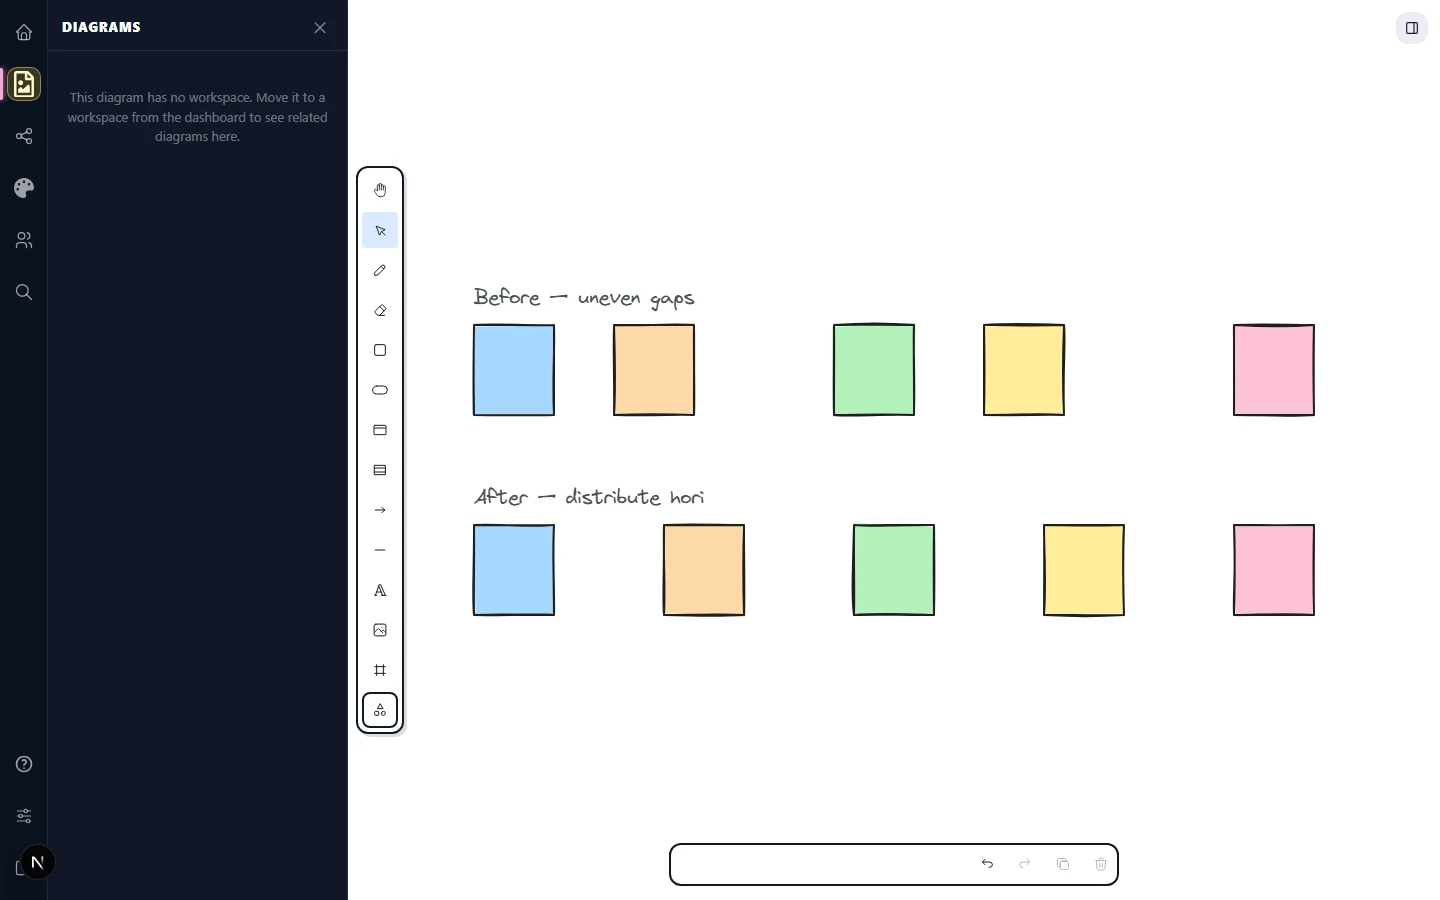
With three or more elements selected, the Distribute buttons appear next to Align:
- Distribute horizontally — equal horizontal gaps between adjacent elements.
- Distribute vertically — equal vertical gaps.
The leftmost and rightmost (or top and bottom) elements stay put; everything in between snaps to even spacing. Combined with align, you can turn a hand-placed row of boxes into a perfectly tidy strip in two clicks.
Z-order
Every element has a Z-order — its position in the front-to-back stack. Right-click any element to find the four stacking actions in the context menu:
- Bring forward — move up one layer.
- Send backward — move down one layer.
- Bring to front — jump to the very top.
- Send to back — jump to the very bottom.
The same four buttons also live in the actions menu when an element is selected, so you can stay in one panel for the full styling pass.
Tool lock
Click the small padlock icon on the toolbar (next to the shape tools) to toggle Tool lock. With it on, the active tool stays active after you finish drawing — useful when you want to draw five rectangles in a row without re-clicking the rectangle icon each time. Without it, every commit drops you back to the selection tool. Tool lock is a workflow preference and stays on across reloads of the same scene.
Select all
To select every element on the canvas, open the actions menu and pick Select all (or right-click on empty canvas and choose the same option). Combine with align or group operations for whole-canvas tidies. Click on empty canvas to clear the selection without affecting any element.